I cannot say I am great at “going green”. It’s not that I
don’t want to be environmentally friendly; it’s really a matter of putting it
into practice. I do try though to take small steps towards being kind to our
Earth whenever I can. I focus on reusing everything I possibly can, request
paperless billing with all companies who offer it, use reusable containers for
the kids snacks (I hate buying to go packs), make the most of natural lighting
in our home, and of course recycle anything that can be recycled.
Today I took another step towards helping the environment
thanks to great ideas found on the Internet. The UNpaper towel! Would a rag
work just as well? Sure! Is it pretty and coordinated to my kitchen? NO! I like
practical but pretty, so this was totally my style! Aren’t they cute?

Now I am no seamstress and I have a very limited knowledge
of sewing in general but I was able to figure these out. Don’t be scared.
How do you do it? Funny you should ask because here is how!
Visit your local fabric store and pick out 1 yard of terry
cloth and 1 yard of a cotton or flannel fabric.
Start by washing and ironing your fabric.

Cut your fabrics into 12x12 squares making sure they are as
uniform as possible. If the measurements are off, your fabrics will not line up
when you sew them together. (Tip: I used a piece of 12x12 scrapbook paper as a
stencil on my fabric. Being the
perfect size, it worked out great.) You should be able to make 9 squares out of
each type of fabric making 18 squares total.


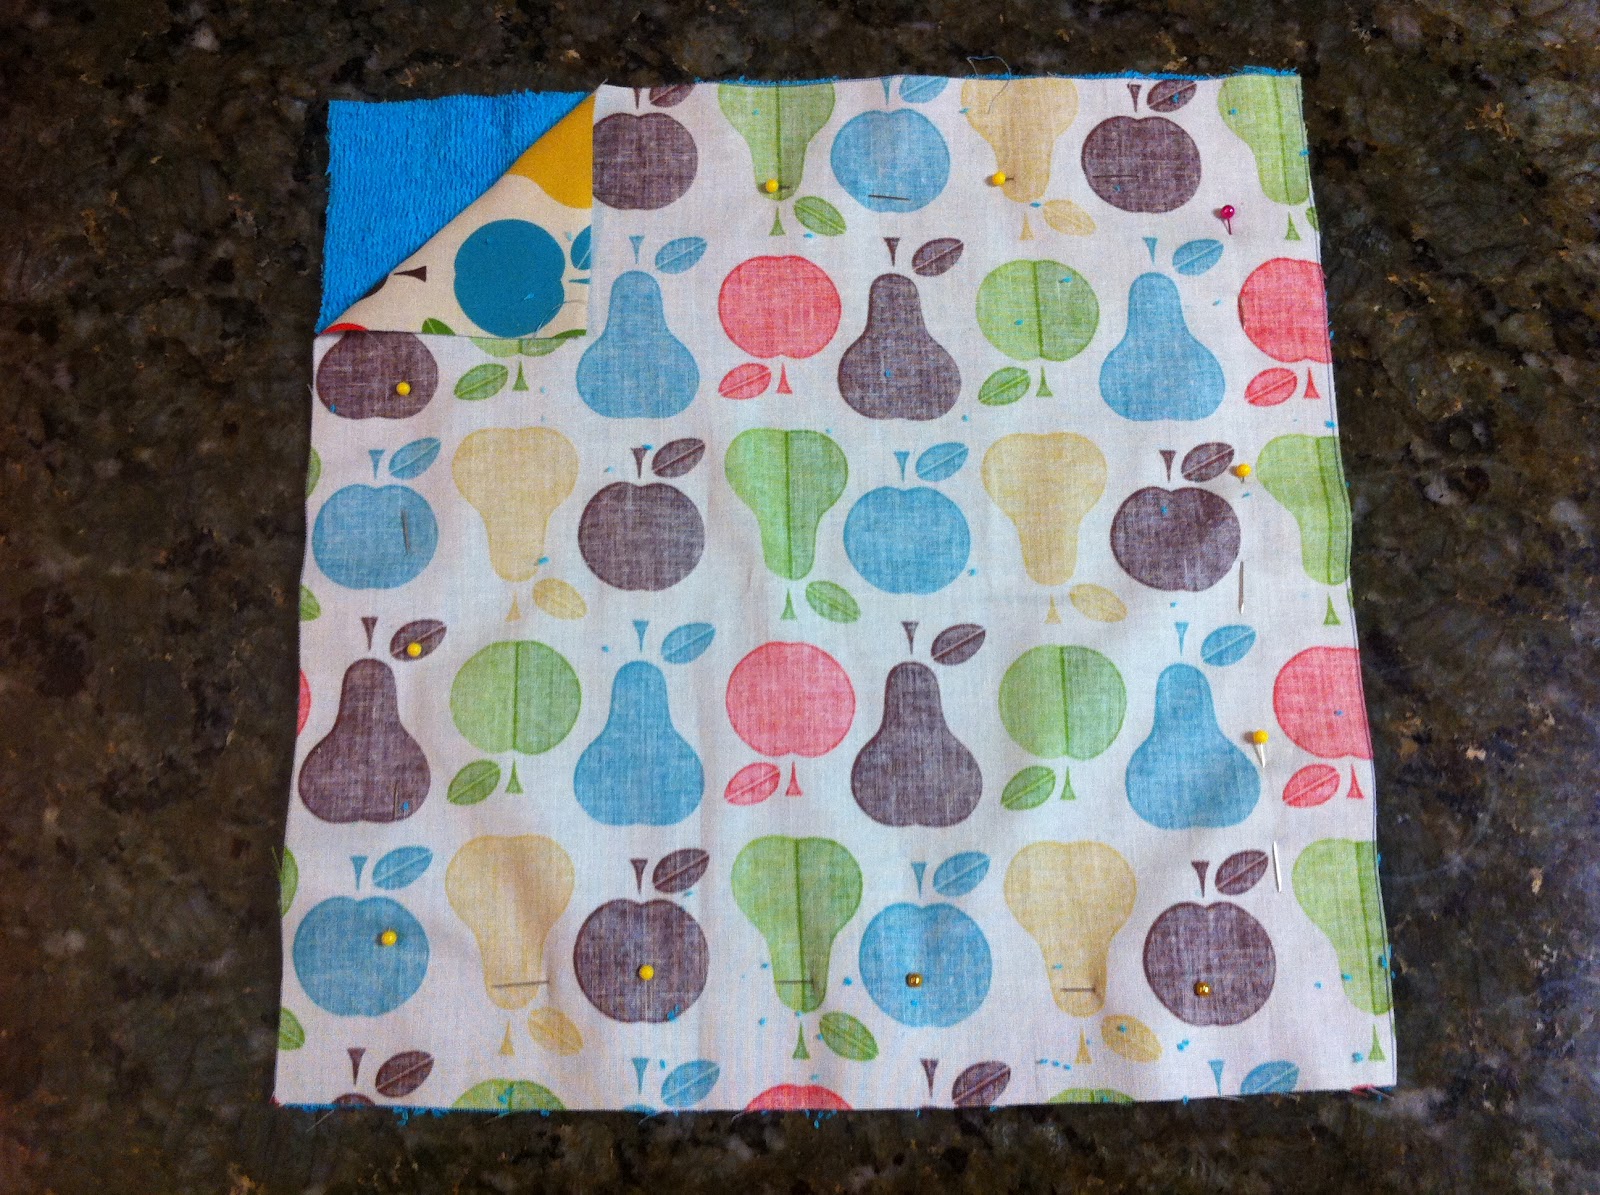
Next, layout a terry cloth square and place a cotton square
on top of it. Make sure the print side is down. Being sure
your squares are perfectly lined up, pin them together very well so they do not
shift while you sew. Repeat with your remaining fabric until you have all 9
squares pinned.
Sew your squares together with a quarter inch allowance (Tip: the
foot of your sewing machine should line up with the edge of your fabric to make quarter inch allowance.) Completely sew 3 sides. On the 4th side, sew your edge only three quarters of the way.


Now, you turn your fabric right side out by pulling it
through the edge you did not sew. Once it is completely pulled through and
flattened out you may sew the remaining edge closed.

Next, sew a diagonal line across your square so that
your towel will not bunch up when you wash it. Repeat until all 9 squares are
complete.


Now you will put the snaps on your squares. There are a variety of snaps
available. Some can be put on
using a punch and then you snap them on, others can be sewn. (I chose the type you sew on to save on cost but be
forewarned it does take quite a bit longer to hand sew them.)
Each of these snaps has a male end…

And a female end.

Turn your towel to the terry cloth side. Attach 2 male ends
to the top and bottom of the right hand side of your towel.

Turn your towel to the cotton side. Attach 2 female ends to
the top and bottom of the right hand side of your towel.

Repeat with all 9 towels.
Lastly, snap your towels together female end to male end (G
rated thoughts now.)

When all your towels are snapped together, roll them up and
there you go! UNpaper towels that can be washed and reused to your hearts
content! Pretty nifty huh?

Turned out super cute! You've reminded me I want to sew a table runner!
ReplyDeleteMe too! Girls night!
ReplyDeleteThis is so good! I can't believe I had a daughter with such talent. Wowzers.
ReplyDelete